I have yet to work with the Cisco Nexus line of switches…just never had the opportunity. I’ve worked a lot over the years with Cisco’s chassis class line of switches (5500’s and 6500’s), and a bunch of their stackable switches (3600’s and 3700’s). So, all of a sudden, I need to learn about Cisco’s 9000 line of Nexus switches…and fast. What to do??
Read…a lot. I spent a fair amount of time this weekend just reading up on a bunch of technical papers from Cisco. Here is a great starting point…scroll down to see a large variety of topics pertaining to the 9000 series…
Cisco Nexus 9000 Line of Switches
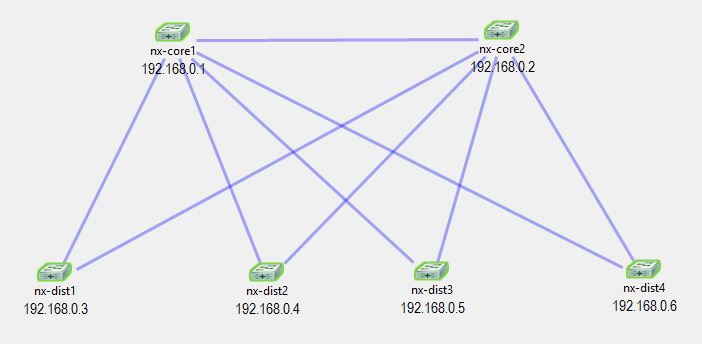
The next thing I did was setup a small two-tier Nexus network simulation within VIRL. This is very cool…I am able to check out configurations, learn the NX-OS syntax, and just have some fun playing with the Nexus switches. Topology was straight forward, and I have BGP and OSPF in the mix…(AutoNetkit is your friend)…
Now, running a Nexus simulation within VIRL is not perfect…there are still some features that don’t work, such as vPC (Virtual Port-Channel), but it is a good start. And it is sure helping me out a lot.
Note: There is a bug in the NX-OSv VIRL node that ends up creating all of the switch interfaces with the same MAC address (0000.0000.002f). Obviously, nothing works if this is the case. The VIRL team is working on this, but there is a work-around…simply use AutoNetkit to create the switch configs, and each interface will have proper MAC addresses created. If you would rather do most of the configuration yourself, then still use AutoNetkit but choose the “Infrastructure Only” option…you will end up with a minimal starting configuration, but with working MAC addresses. AND…remember to click the “Build Initial Configurations” button before you start the simulation!!
Enjoy!!

